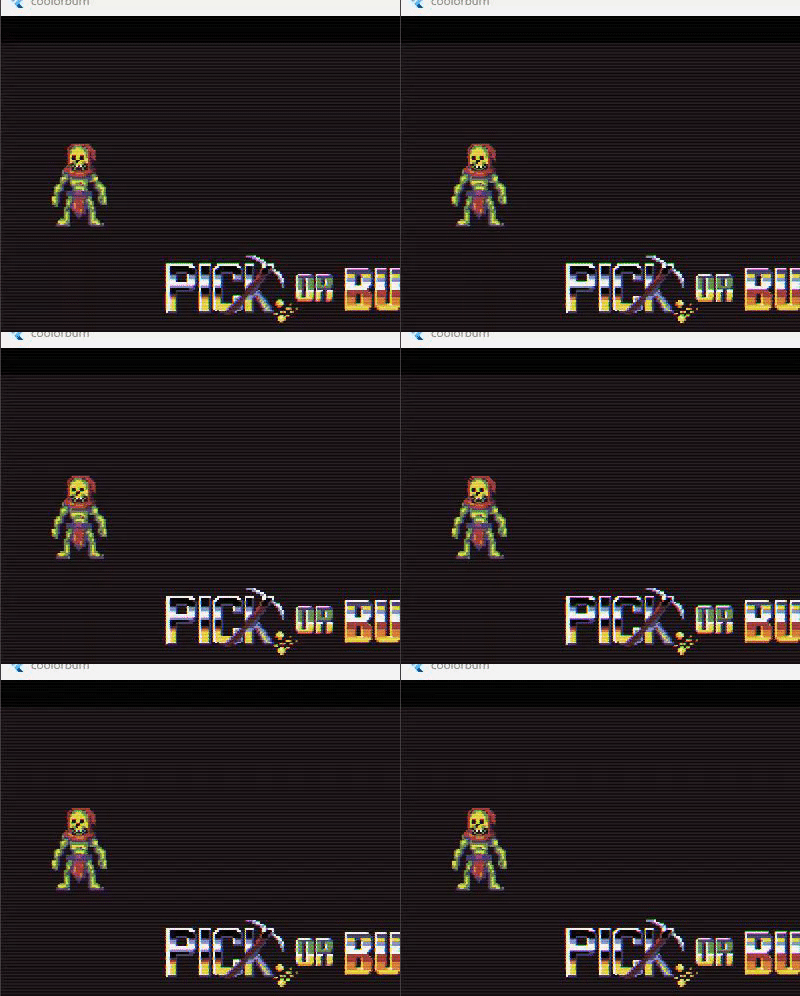
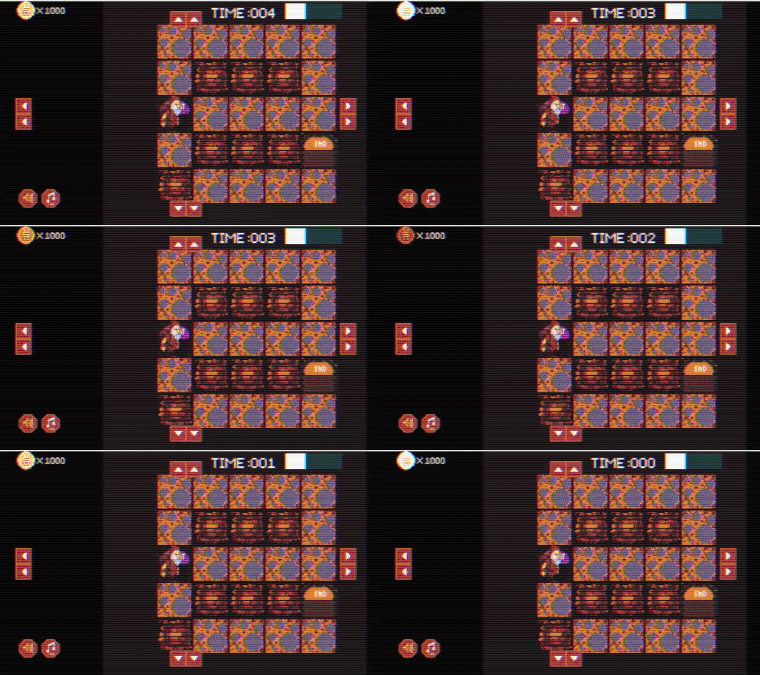
The Retro Feature - CRT Shader
In my previous dev log V0.1.0, I mentioned a feature that allows players to toggle a retro look and feel for the game, giving it a more nostalgic vibe. While this sounded straightforward, implementing it—particularly on the web—presented unexpected challenges. Web builds posed several errors, and since I hadn’t worked with shaders in Flutter before, I decided to branch my repository and focus on getting this feature up and running on a Windows build first. This allowed me to isolate the shader implementation and ensure it worked in a desktop environment.

I’m aware that shaders can potentially cause performance issues, especially on web builds, so I wanted to be cautious before pushing this feature to other platforms. However, I aim to release the game for both mobile and desktop in the future, and additional testing will be necessary to optimize performance across devices. For now, here's a summary of how I managed to get the CRT shader working successfully.
1. Write the Shader Code (GLSL or SkSL)
- Develop the shader using GLSL or SkSL. For a CRT effect, the shader would typically simulate scanlines, chromatic aberration, and subtle distortions. This shader code will manipulate the pixel data to achieve the retro CRT look.
- Example: Use
gl_FragCoordto adjust pixel positions and add distortions like scanlines or color shifts.
2. Load the Shader into Flutter
- Use Flutter’s
FragmentProgramto load the shader. You can do this by loading the shader file from assets usingFragmentProgram.fromAsset. This will allow Flutter to handle the shader within its rendering pipeline. - Example:
FragmentProgram program = await FragmentProgram.fromAsset('assets/shaders/crt.frag'); 3. <strong>Implement a CustomPainter to Apply the Shader</strong>
- Create a class that extends
CustomPainter. This allows you to override thepaint()method, where you can capture the screen content and apply the shader before drawing it back onto the canvas. - Example:
@override void paint(Canvas canvas, Size size)
{   shader.setFloat(0, size.width);
shader.setFloat(1, size.height);
canvas.drawRect(Rect.fromLTWH(0, 0, size.width, size.height), Paint()..shader = shader); } <span></span>
4. Use CustomPaint to Render the Shader
- Finally, wrap the game or the widget you want the shader applied to inside a
CustomPaintwidget. Set theCustomPainteryou created earlier as the painter for theCustomPaint, ensuring the shader is applied to the entire canvas or specific widget. - Example:
CustomPaint( painter: CRTShaderPainter(shader), child: GameWidget(game: MyGameInstance), ); <span></span>
These steps will allow you to apply a CRT shader to your Flutter game, creating that vintage CRT display effect.
The result was what i intended and seems that the impact on performance at least in desktop is minimal., further test will be need to see if this same effect can be ported to other platforms that would be a very Flutter thing to have.

Here is a video i made related to this feature, in case you have further questions let me know in the comments below.
Pick or Burn
pick
| Status | Prototype |
| Author | LienPixels |
| Genre | Adventure |
| Tags | 2D, Arcade, Clicker, Pixel Art, Puzzle-Platformer, Retro, Singleplayer |
| Languages | English |
More posts
- From Prototype to Framework9 days ago
- Game update 0.1.8Jul 03, 2025
- Game update 0.1.6 - based on feedbackMar 24, 2025
- Wired for exploringMar 22, 2025
- Feedback session on 0.1.5Jan 24, 2025
- Game update 0.1.1Jan 22, 2025
- Game update 0.1.0Jan 20, 2025
- Working on V.0.0.97Jan 10, 2025
- Next Changes for Version 0.1.0: Follow-UpOct 18, 2024
Comments
Log in with itch.io to leave a comment.
https://twitter.com/LienTheAlien/status/1843199026180874267